



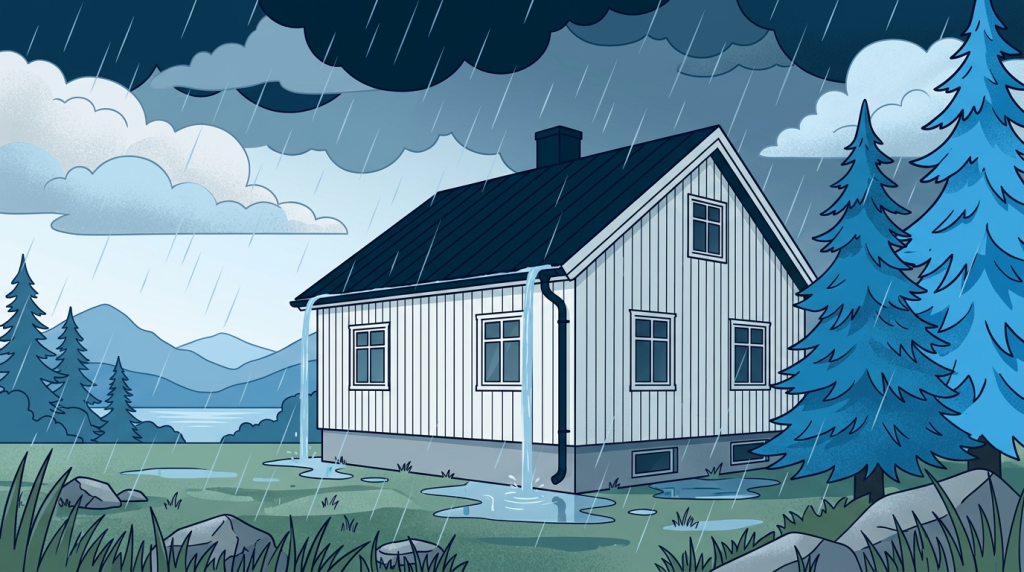
There has been a lot of bad weather in Norway recently, and more rainfall is expected as autumn progresses. Water damage rarely gives any warning. Once it occurs, there is one thing in particular that determines how extensive the damage will be: how quickly and appropriately you respond.
This guide shows you the five most important steps for minimising the damage, how to choose the right dehumidifier, and why the job isn’t finished even once the water has been removed.
Why is water damage so serious?
Because damp damage develops quickly. With a little heat, visible mould growth can appear as early as 4 days. By then, the damage will have started to take hold in the timber, fittings and indoor environment. What initially looked like a simple clean-up can quickly turn into a full-scale restoration.
It is also important to remember that water entering from outside must be regarded as contaminated. On its way in, it may have come into contact with sewage, soil, groundwater and other contaminants. It is therefore not enough simply to mop up the water. The surfaces must also be cleaned and disinfected before the building can be considered safe again.
Time starts ticking straight away
- Hours 0–24: The water spreads throughout the structure and is absorbed into porous materials
- Days 2–3: The odour develops, and bacterial growth may begin
- From day 4: Visible mould growth may occur if the temperature is right for it
First aid for water damage: five steps
The order is just as important as the equipment. If you skip a step, you’ll often have to redo the work later. By then, the damage will have had more time to develop.
- Stop the water from getting in. Nothing else will help if water is still getting in.
- Suck up the water with a water vacuum cleaner or lens pump. The quicker you can lower the water level, the less time the water will have to seep into the structure.
- Start the drying process. Select condensation dehumidifier or adsorption dehumidifier based on the temperature at the scene of the incident. You can find more on this below.
- Clean and disinfect. Water that has seeped in from outside is contaminated. Drying alone does not remove the contaminants that came in with the water.
- Follow up with moisture measurement. Do not finish until the readings show that the materials are actually dry. Do not rely on the calendar alone.
Don’t skip this
- Use protective clothing and protection. You’re working in polluted water.
- In the event of an insurance claim, you should document the process with photographs and measurements as you go along, not just at the end.
- Ensure that moisture and contamination do not spread to dry areas whilst the work is in progress.
Get the water out quickly


Condensation or adsorption: how to choose the right dehumidifier
In the event of damp damage, it is the temperature at the site of the damage that determines the choice. However, this is a decision many people make a little too hastily, and this is where a lot of time can be wasted. Dehumidifiers that remove condensation and adsorption dehumidifiers essentially do the same job, but they work best under different conditions.
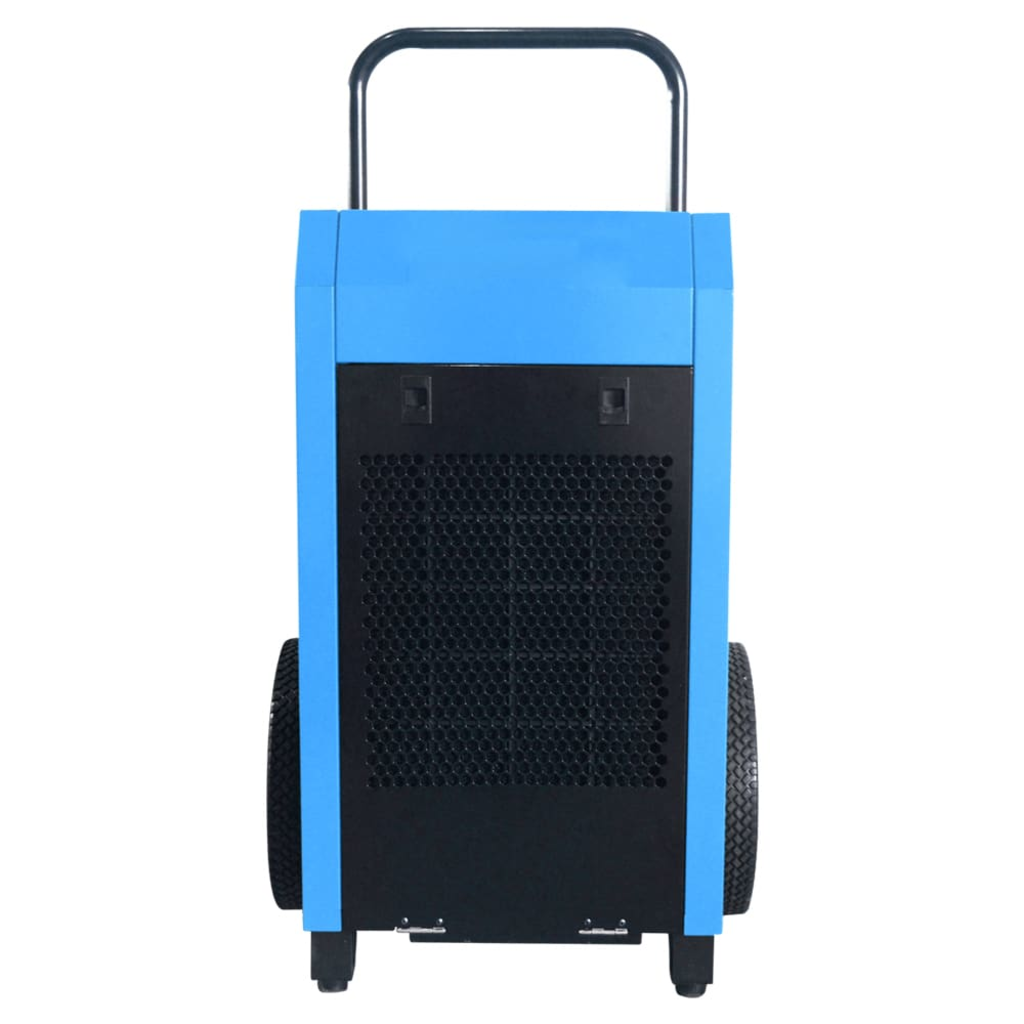
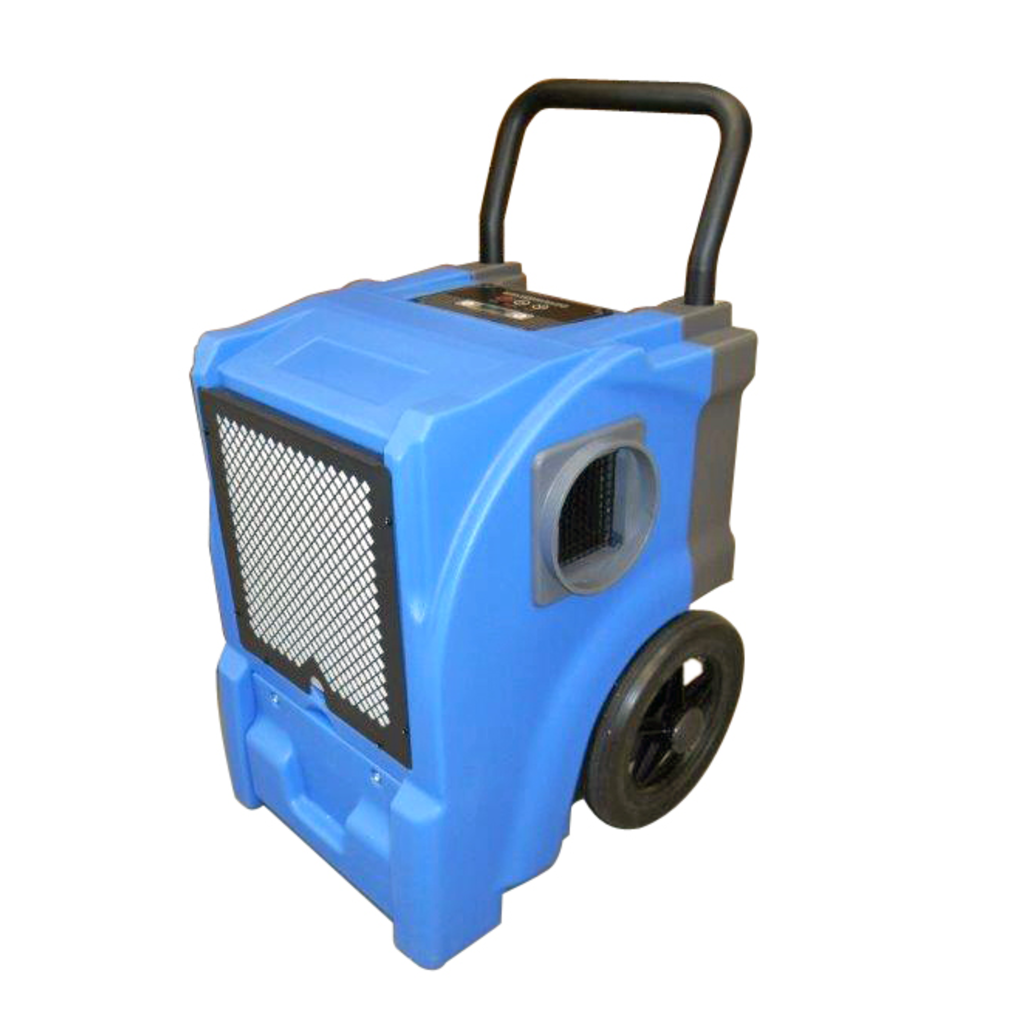
One condensation dehumidifier cools the air so that the moisture is separated out as water. It needs heat to work effectively, and is most effective from around +15 °C and above.
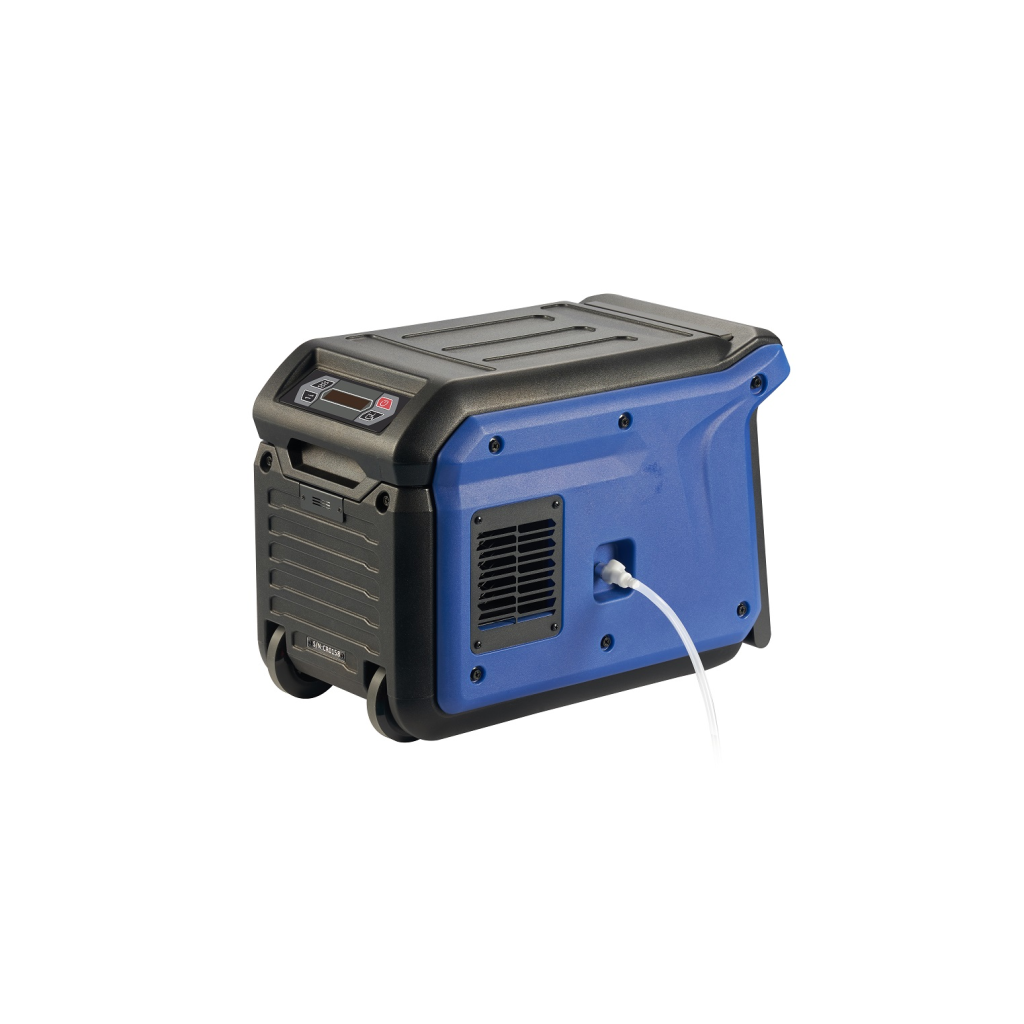
One adsorption dehumidifier It draws moisture into a rotating wheel containing silica gel, without cooling the air. It therefore works well even in cold cellars, unheated buildings and in winter conditions.
Choose correctly
- Heated room from +15 °C: condensation dehumidifier
- A cold or unheated room below 10 °C: adsorption dehumidifier
- Uncertain or fluctuating temperature: Adsorption is the safest option
What the number in the model name means
- Condensation dehumidifiers: This figure indicates how many litres of moisture the machine can remove per day under optimal conditions. For example, the PNA55L removes up to 55 litres per day.
- Adsorption dehumidifiers: This figure indicates the volume of air the machine processes. A higher figure means that the machine covers a larger area.
Use the area tables below to find the right model.
Condensation dehumidifiers: recommended area
These figures are based on normal conditions. If the room is cold, has high ceilings or is very damp, you should choose a model one size larger.
| Model | Capacity | Recommended area | With fans | Best suited to |
|---|---|---|---|---|
| PNA35 | 35 litres per day | 40–80 m² | 160 m² | Basement, garage and moderate damp and water damage |
| PNA35 Wi-Fi | 35 litres per day | 40–80 m² | 160 m² | Same as the PNA35, but with remote monitoring |
| PNA45L | 45 litres per day | 60–100 m² | 200 m² | Medium-sized rooms, structural drying and water damage |
| PNA50 Eco | 50 litres per day | 70–110 m² | 220 m² | Cellar, storeroom, workshop and building drying room |
| PNA55L | 55 litres per day | 80–120 m² | 240 m² | Larger rooms and more demanding drying jobs |
| PNA70 Eco | 70 litres per day | 100–180 m² | 360 m² | Large rooms, warehouses, garages and industrial buildings |
Condensation dehumidifiers: best from +15 °C



Adsorption dehumidifiers: recommended floor area
The PNA100 and PNA210 are specified for operation from −20 °C to +40 °C. That is precisely the point of the technology: it doesn’t care much if it’s cold.
| Model | Recommended area | Best suited to |
|---|---|---|
| PNA100 | 50–100 m² | Small rooms |
| PNA210 | 80–200 m² | Small and medium-sized projects |
| PNA380 | 125–250 m² | Warehouses, large-scale cold storage facilities and building drying |
| PNA525 | 175–350 m² | Large areas, industrial applications and demanding drying jobs |
Adsorption dehumidifiers: also work in cold conditions
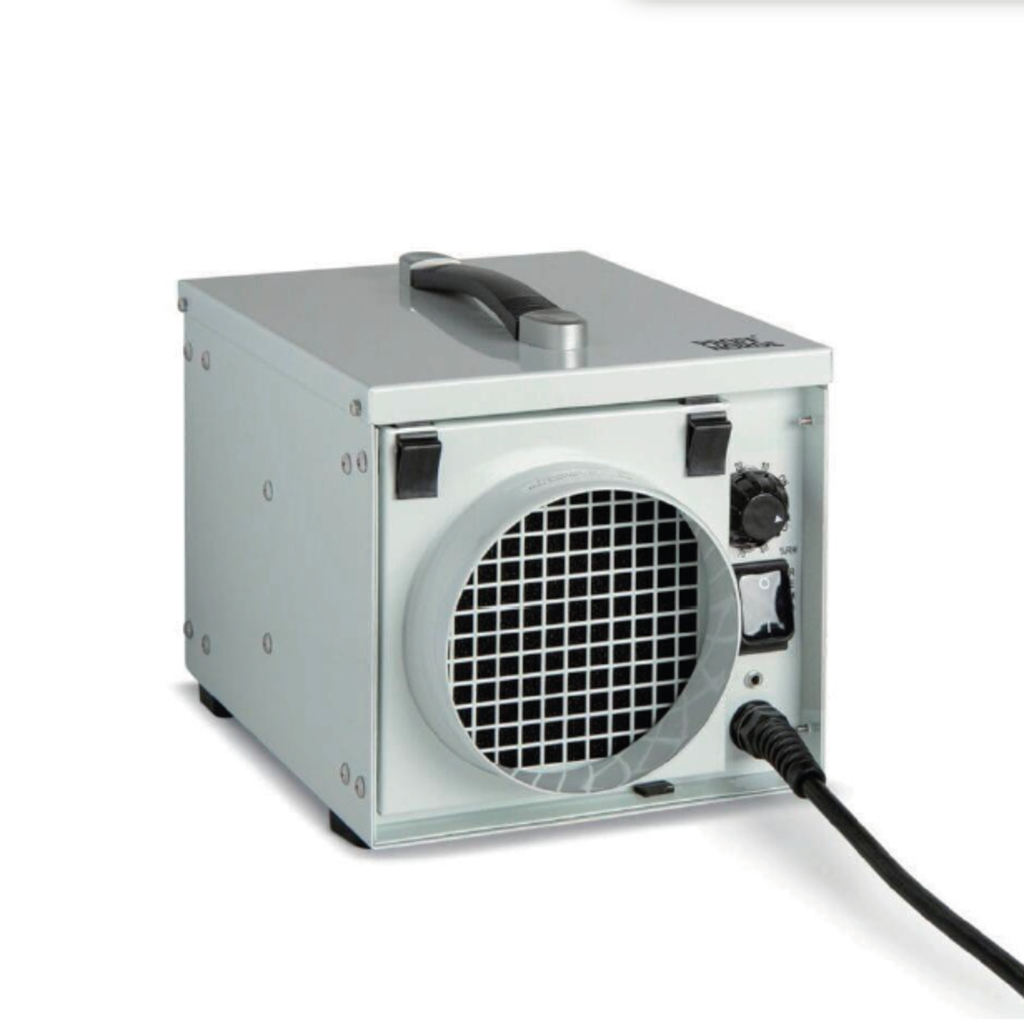


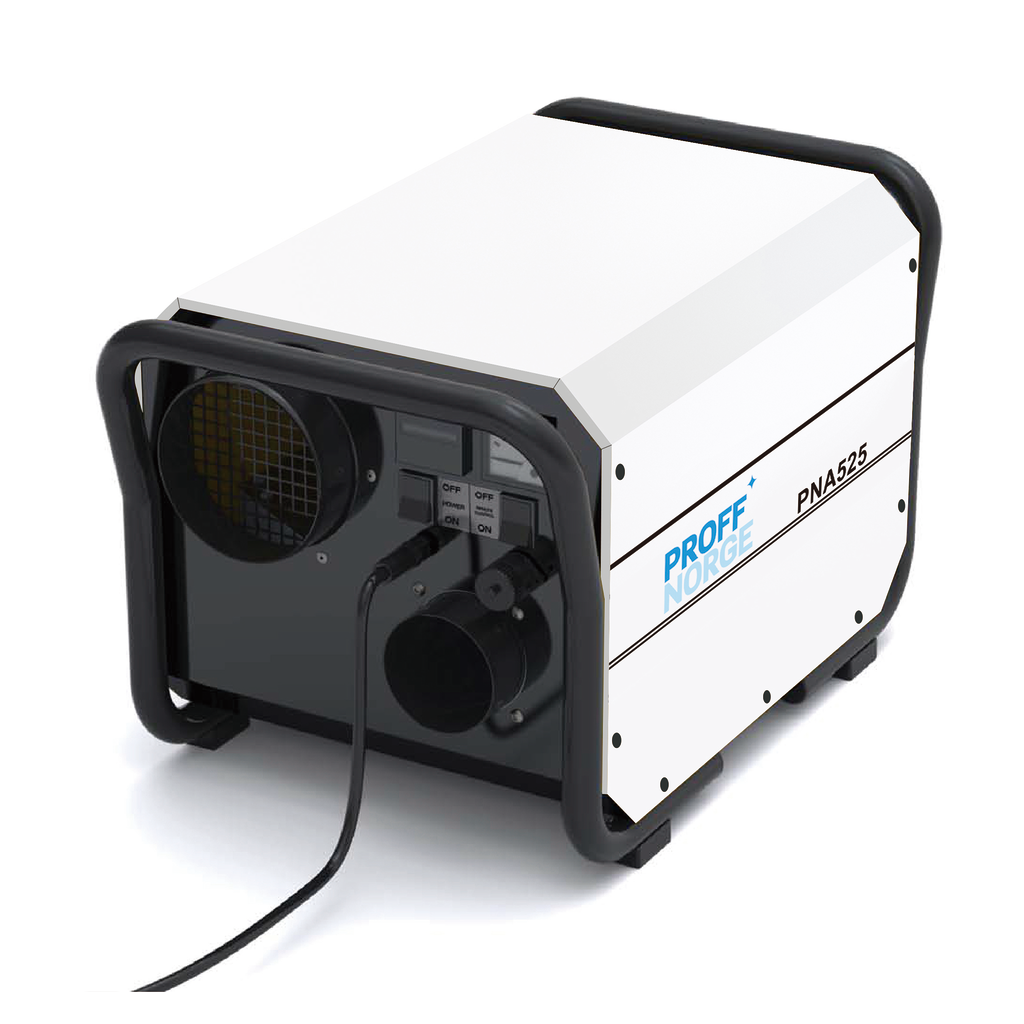
Air circulation is half the job when drying
A dehumidifier can only remove moisture from the air that actually reaches it. If the air is stagnant in a corner, that corner won’t dry properly, no matter how big the machine is.
That is why fans are an important part of the drying setup. They circulate air along the floor, walls, nooks and crannies, and help the dehumidifier cover a larger area. With the right air circulation, you’ll achieve both faster and more even drying.
The effect is not insignificant. The area covered by a dehumidifier doubles when the air is set in motion. A PNA55L covers an area of 120 to 240 m², and a PNA70 Eco covers 180 to 360 m². As a rule, it is both cheaper and more efficient to add a couple of fans than to install another dehumidifier.
The same principle applies on construction sites. We have written more about the sequence of drying, water management and dust control in the guide Dust, water and dirt on a building site.
Cleaning and disinfection: this is where many people give up too soon
Once the water has been removed and the dehumidifier is running, it’s easy to feel that the job is done. However, water damage is not fully treated until the surfaces are clean. Even a dry surface can still be contaminated. In that case, odours may return, and the indoor environment will not be as safe as it should be.
That is why cleaning and disinfection are carried out as a separate step.
Clean first, then disinfect. The order is important. If you use disinfectant on dirty surfaces, it will act on the dirt rather than on the microorganisms you actually want to remove.
Choose correctly
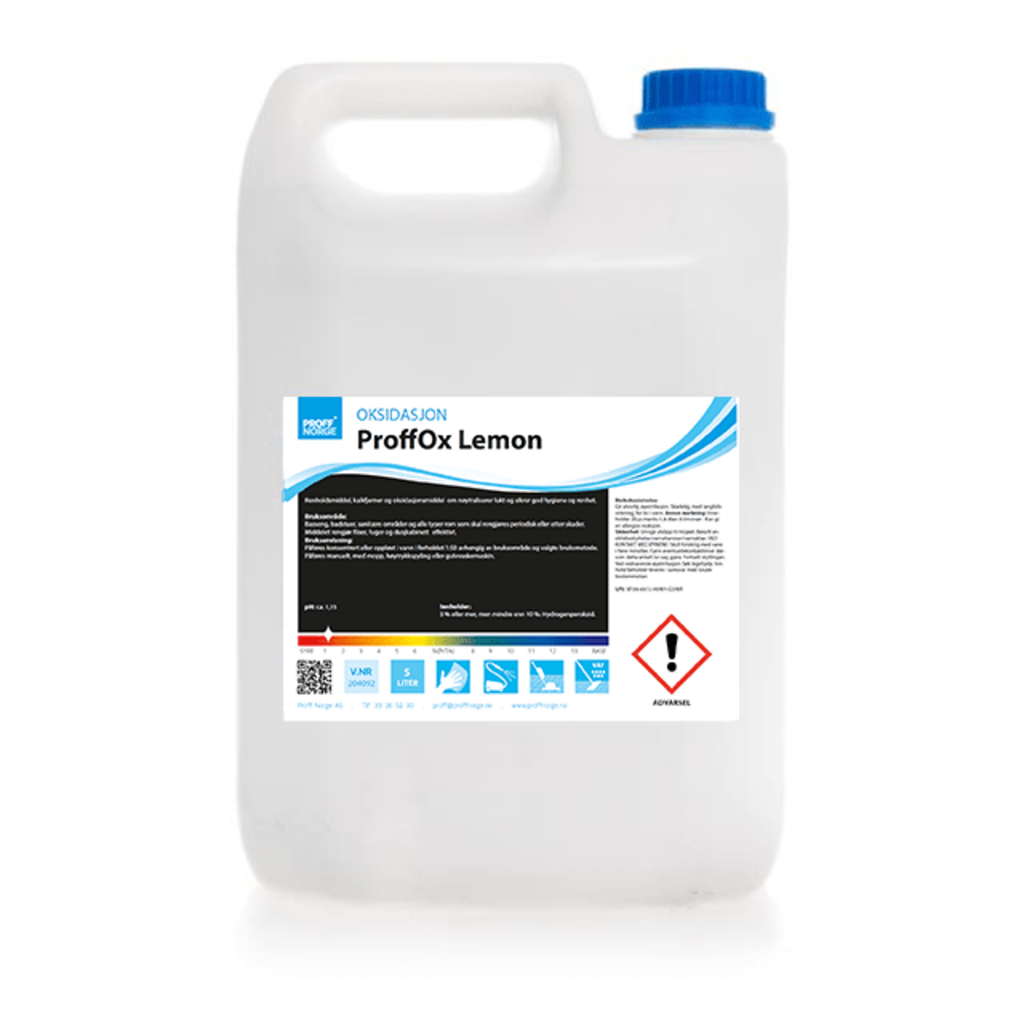
- Leakage and odour following damage: ProffOx Lemon
- Sewage, mould and the need for disinfection: ProffOx DES
- Surfaces that need to be kept clean afterwards: Proff Elyte
Cleaning and disinfection


Moisture measurement: how to tell if you’ve actually finished
«It feels dry» is not a measurement. The surface always dries first, whilst moisture may remain deeper within the structure. If you stop the drying process too early, the moisture may be drawn back towards the surface. This could result in further damage a few weeks later.
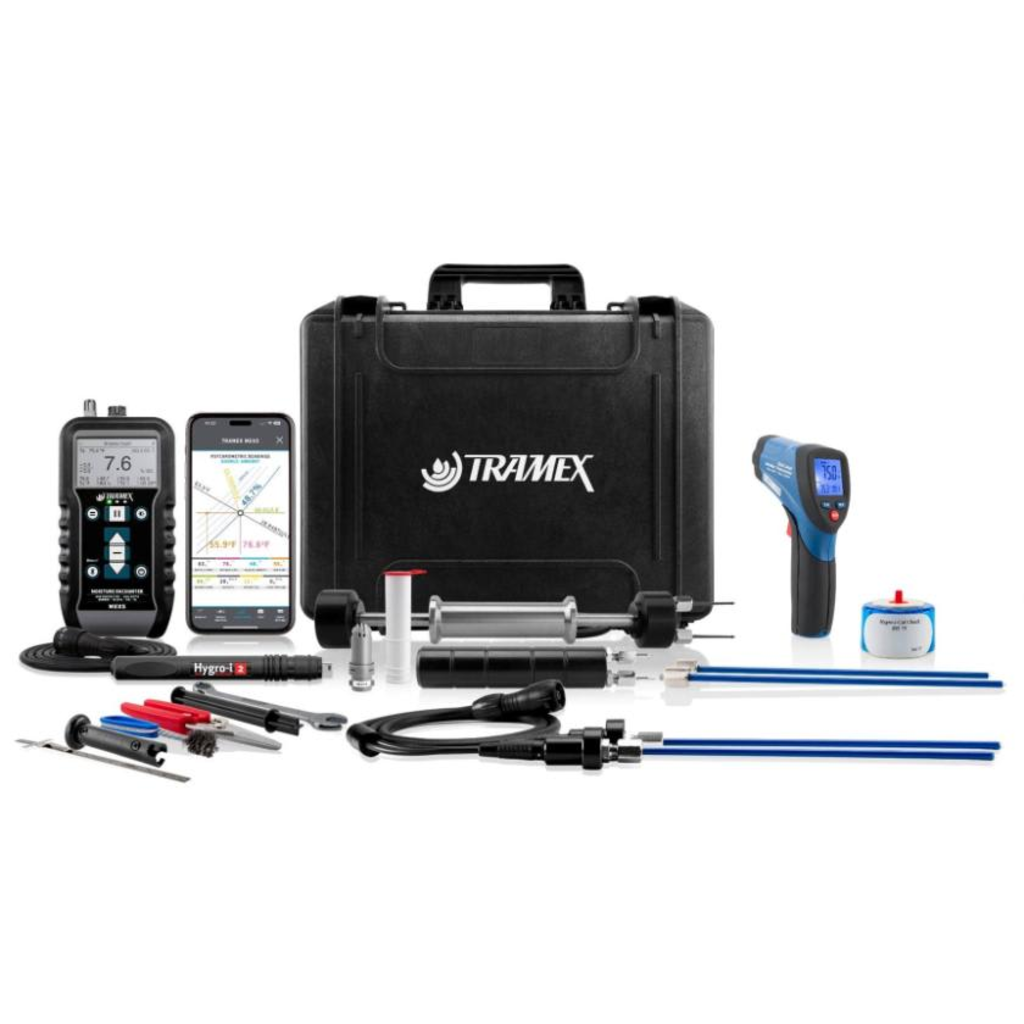
After water damage, you should therefore take measurements at several points and monitor the situation over time. A moisture meter with a hygrometer and an IR thermometer provides you with both material moisture content and environmental data. This allows you to see whether the drying process is actually progressing as it should.
Measuring equipment with app connectivity can also provide you with moisture maps and reports directly on your mobile. This is useful documentation, particularly in insurance claims.
Measurements at these points
- In corners and under skirting boards, not just in the middle of the room
- Both in the material and in the indoor air, i.e. relative humidity
- At the same points each time, so that the figures can be compared
- Before you finish drying, and ideally a few days afterwards as a check
Moisture measurement and documentation


And whilst it’s still dry
Have you checked the guttering and drainage recently?
The cheapest type of damp damage is the one that never happens. Spending half an hour cleaning the gutters, checking that the downpipes are directing the water in the right direction, and looking out for any standing water near the foundation costs very little compared with a full-scale drying-out operation.
Frequently Asked Questions
How soon do I need to get started?
Ideally, on the same day that the water damage is discovered. In warm conditions, visible mould growth can appear after 4 days. The sooner the water is removed and the drying process begins, the less of the structure will be affected.
Is it enough just to mop up the water?
No. Water that has seeped in from outside must be regarded as contaminated. It may carry sewage, soil and other contaminants from the ground. The surfaces must therefore be cleaned and disinfected as well as dried.
How long does the dehumidifier need to run?
It is the measurements that matter, not a specific number of days. The drying time following water damage varies depending on the material, the temperature, air movement and how much water the structure has absorbed.
How big a dehumidifier do I need?
Use the area to be dried as your starting point, and refer to the tables above. If the room is cold, has high ceilings or is very damp, choose the next larger model. If you’re unsure between two models, choose the larger one. An oversized dehumidifier will simply take less time, whilst one that is too small will never quite finish the job.
Can I use a condensation dehumidifier in a cold cellar?
You can, but the effectiveness drops significantly as the temperature falls. Below 10 °C, an adsorption dehumidifier is usually the right choice. An alternative is to heat the room first, but this means you’ll be using up both time and electricity before the condensation dehumidifier reaches optimal operating conditions.
Do I need fans as well as a dehumidifier?
Yes, in practice, almost always. The dehumidifier only treats the air that reaches it. Fans move damp air out of corners and along surfaces, enabling the drying system to cover a larger area – in practice, twice the area.
What documentation is required for an insurance claim?
Take photographs of the extent of the damage before work begins. Document what measures were taken and when they were taken, and attach moisture readings taken during the work and upon completion. Documentation collected on an ongoing basis is much more reliable than documentation reconstructed retrospectively.
In a nutshell
Stop the water, drain it out, dry using the right technology for the temperature, clean and disinfect, and only finish when the readings show that you’re done.
It is the order in which things are done that determines whether the water damage will result in a controlled clean-up or a more extensive restoration.
If you’d like to explore the choice of methods, dosage and health, safety and the environment in more detail, you’ll find everything brought together in From chaos to control: the complete guide to modern damage restoration. If you’re putting together your kit, here’s mini-catalogue for water and damp remediation a complete overview.
🎧 We’re talking about the same thing on the Proff Podden. Have a listen «How to dry out water damage» (20 mins).