



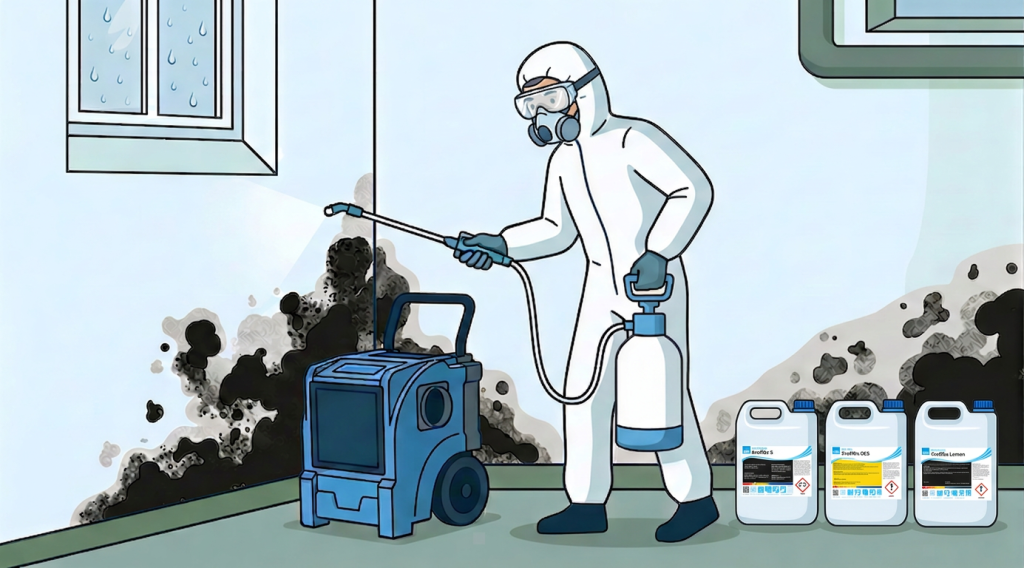
Mould removal isn’t just about washing away what you can see. Mould is almost always a sign of a damp problem. If the damp isn’t dealt with, the mould will often return, even if the surface looks clean straight after cleaning.
Mould remediation must therefore be carried out in the correct order. First, the cause must be identified and rectified. The area can then be pre-treated, washed, post-treated and dried in a controlled manner.
This method is suitable for professional mould remediation on washable surfaces, technical rooms, basements and areas affected by damp where the source of the damp can be stopped.
Do not start chemical treatment until you know why the mould has appeared. If the leak, condensation or ventilation problem is still present, you are merely treating the symptom.
Important before you start
- Identify and rectify the source of damp, and cordon off the area before work begins
- Wear a disposable coverall, nitrile or chemical-resistant gloves, safety goggles and a respirator or full-face mask
- Ensure there is ventilation where the method allows
- Always follow the instructions on the product label and the SDS, and do not mix chemicals
- Consider whether porous materials need to be removed rather than washed
Porous materials with deep mould growth, such as plaster, insulation and severely affected timber, should be considered for removal prior to chemical treatment.
Download the methodology poster as a PDF
Would you like the whole method summarised on a single page? Download the mould remediation method poster. It sets out five steps, product selection, safety points and humidity control – designed to be printed out and used on site.
Before you start: check this
Effective mould removal starts with a proper assessment. Check the following:
- Has the source of the damp been identified, and has the leak, condensation or ventilation problem been rectified?
- Has the area been cordoned off, and is the appropriate protective equipment in place?
- Is the material suitable for chemical treatment, or do porous materials need to be removed?
- Can the humidity be controlled afterwards?
If the answer is ‘no’ to one or more of the points, this should be resolved before you proceed.
Quick product selector
| Needs | Recommended product or equipment |
|---|---|
| Visible mould or odour before washing | ProffOx S |
| Thorough cleaning of surfaces | ProffOx Lemon |
| Finishing of cleaned surfaces | ProffOx DES |
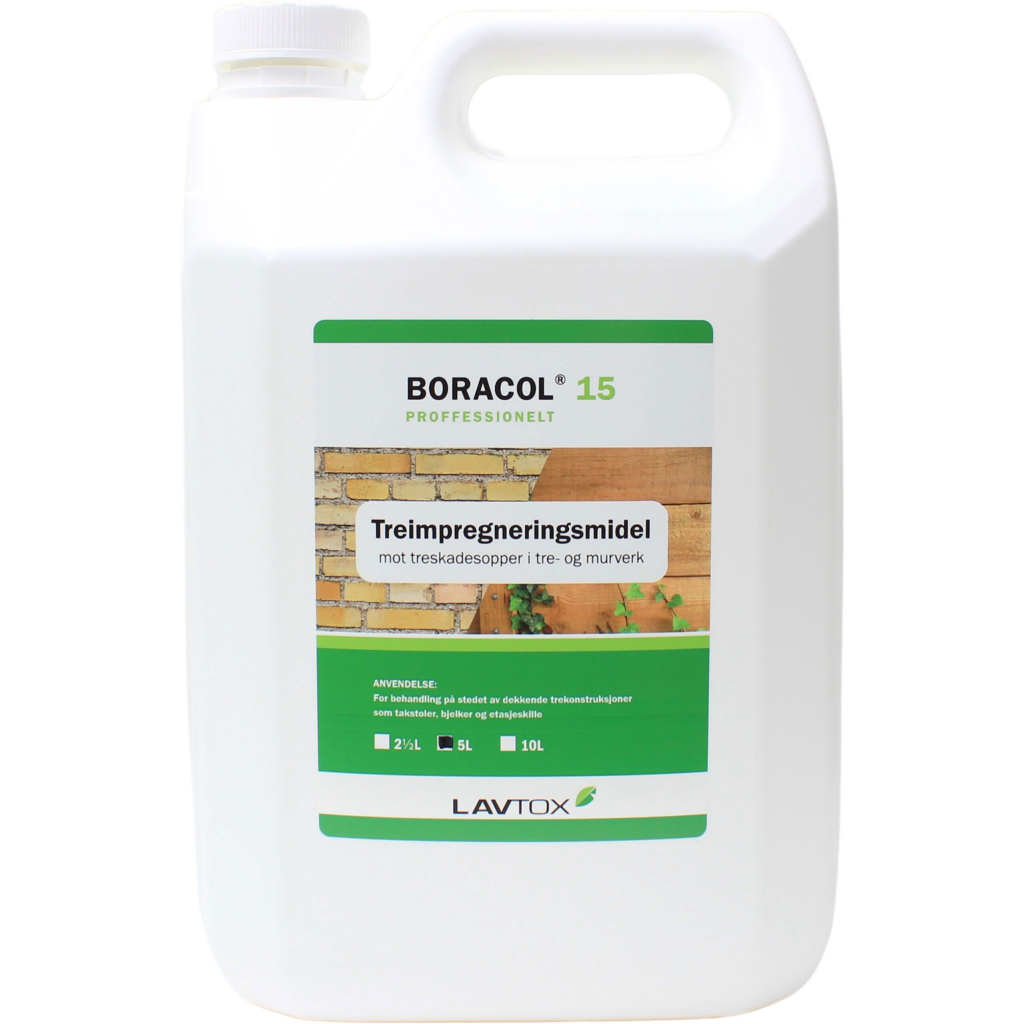
| Real dry rot, rot or insect infestation in timber | Boracol 15 |
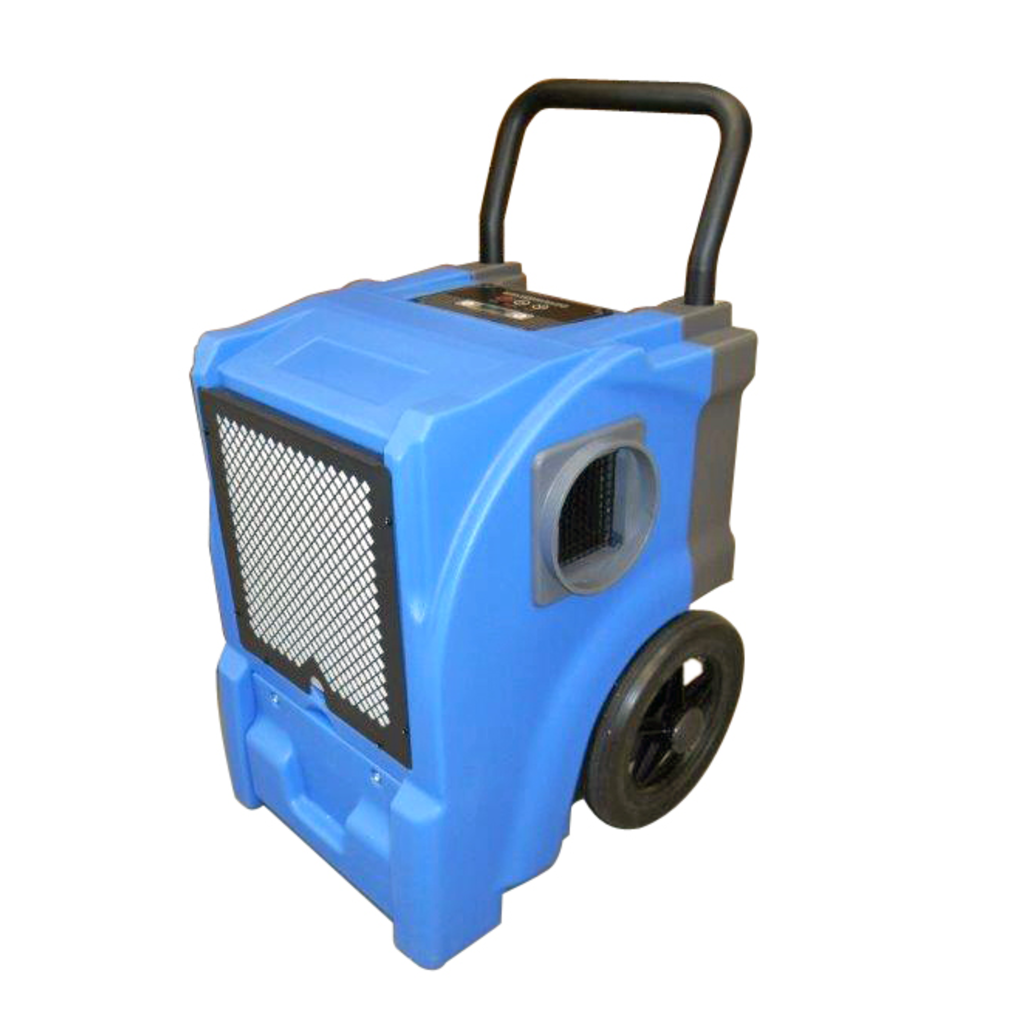
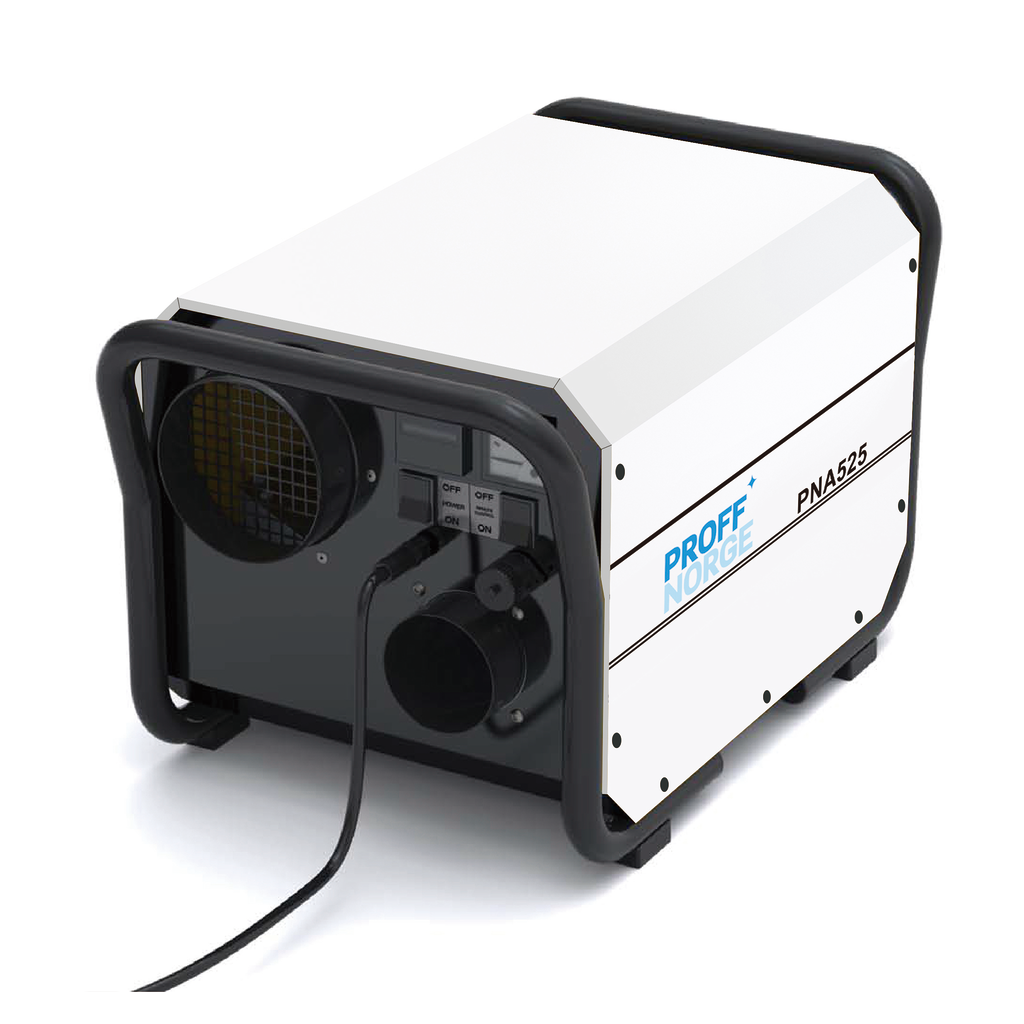
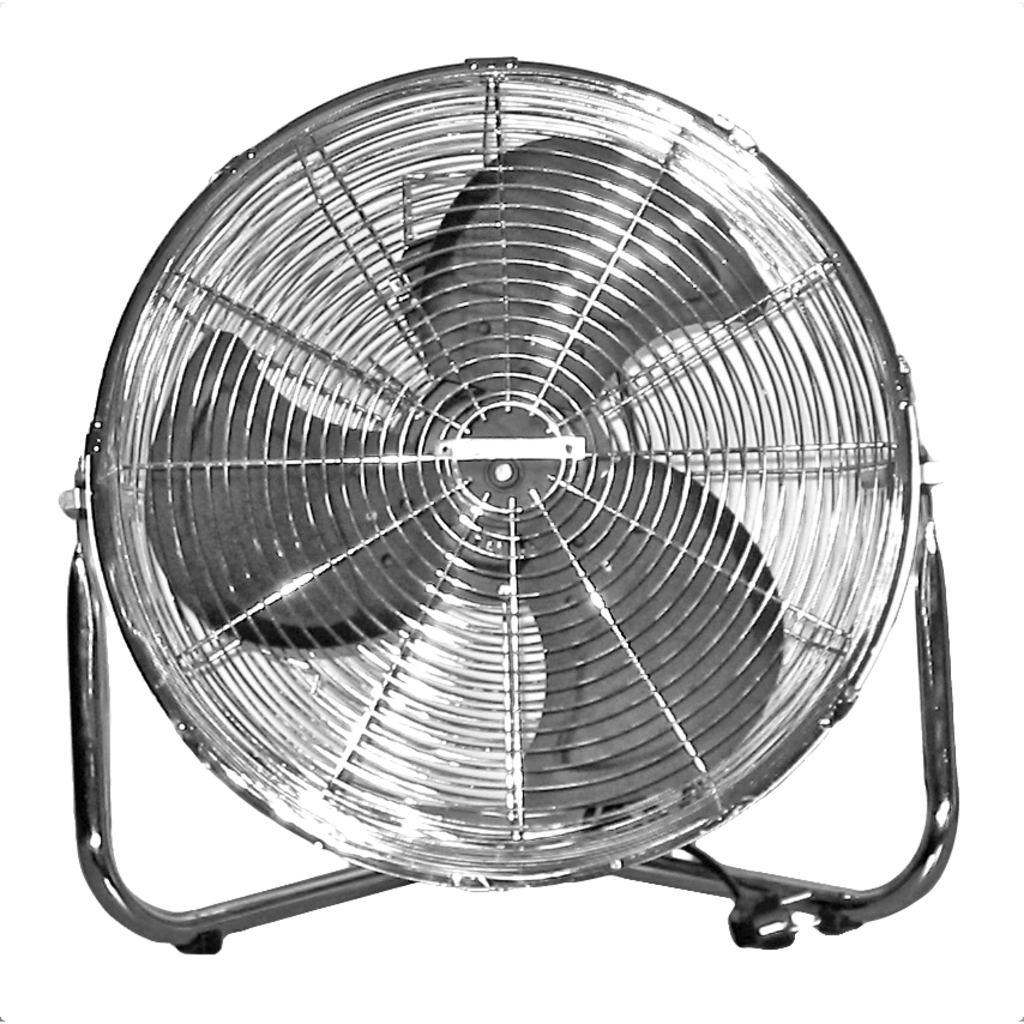
| Controlled drying and humidity | Dehumidifier, hygrostat and fan |
Mould removal in five steps
The order is important. Chemicals alone will not solve a damp problem.
1. Identify and remove the source of the damp
Start by identifying the cause of the mould. Common causes include leaks from the roof, pipes or the ground, condensation on cold surfaces, poor ventilation or damp that becomes trapped within the structure.
Rectify the cause before treating the surfaces. If the damp persists, mould will often return after a short time. You should also consider whether any materials need to be removed – deep-seated mould in porous materials can be difficult or impossible to treat effectively with surface chemicals.
2. Treat visible mould with ProffOx S
Once the area has been secured and the source of moisture has been dealt with, any visible mould is treated with ProffOx S.
ProffOx S is a ready-to-use solution. Apply using a wet mop or low-pressure sprayer to ensure the product is distributed evenly over the relevant surfaces. The product is used to combat odours and mould spores, and has good spreading and penetrating properties. Allow the product to take effect before proceeding with further cleaning.
3. Clean with ProffOx Lemon
After pre-treatment, wash the surfaces thoroughly with ProffOx Lemon. Mix in a ratio of 1:50 with water. Wash the surfaces mechanically to ensure that mould, dirt and organic matter are effectively removed from the surface.
It is important that cleaning is not merely a matter of applying chemicals. Surfaces must be treated wherever possible. Rinse or wipe down as required, depending on the surface and method.
4. Finish with ProffOx DES
Once the surfaces have been cleaned, treat them with ProffOx DES. Mix in a ratio of 1:2, apply to the cleaned surfaces and leave the product to work – it should not be rinsed off.
The after-treatment disinfects the surface and helps to reduce the risk of further mould growth. Please note that ProffOx DES is not a substitute for a dry indoor environment. If the damp problem persists, the mould may return.
5. Dehumidify and monitor the climate
Finally, the area must be dried and stabilised. The aim is to maintain the relative humidity at approximately 50 to 60 % RF using a dehumidifier and a hygrostat until the structure is stable.
When using an adsorption dehumidifier, moist air is vented out through an external wall or a suitable exhaust vent. When using a condensation dehumidifier, the room should be heated, and air circulation should be used to make the drying process more effective. Use a fan to draw air into corners, behind furniture and other areas where moisture might otherwise remain.
Mixing ratio
| Product | Mixing ratio |
|---|---|
| ProffOx S | Ready-to-use solution |
| ProffOx Lemon | 1:50 with water |
| ProffOx DES | 1:2 |
| Boracol 15 | Use undiluted |
Boracol 15 is used to treat fungal infections and rot in timber, insect infestations in timber, and dry rot in masonry and concrete. Apply with a brush, roller or by dipping. Estimated coverage is approx. 6 m² per litre.
Special case: true house fungus
Suspected dry rot should be treated as a separate issue, not as standard mould remediation. Dry rot can attack building structures and requires a more targeted assessment. Boracol 15 is used undiluted to treat fungus and rot in timber, insect infestations in timber, and dry rot in masonry and concrete.
If you suspect a case of dry rot, you should inspect the damage thoroughly before choosing a method. See also the article Suspected house mould? Here’s how to stop the infestation.
Why do moulds keep coming back?
Mould usually returns because the remediation only addressed the symptom, not the cause. Mould needs moisture to grow, and this moisture often comes from three sources: leaks from the roof, pipes or the ground; condensation on cold surfaces such as cellar walls and window frames; and poor ventilation, which allows damp air to linger. If these issues are not rectified, new mould growth may return.
That is why drying and climate control are just as important as the chemistry. Maintain the relative humidity at 50 to 60 % RF using a dehumidifier and hygrostat until the structure is stable, and ensure there is air circulation – the drying process must reach into corners, behind fittings and other areas where moisture may remain. ProffOx DES can help protect cleaned surfaces after treatment, but it is no substitute for controlled humidity.
The products in the method
The method uses products with different functions: ProffOx S for pre-treating visible mould and odours before washing, ProffOx Lemon for thorough cleaning of surfaces, and ProffOx DES as a finishing treatment on cleaned surfaces. Boracol 15 is used to treat fungal growth and rot in timber, insect infestations in timber, and dry rot in masonry and concrete. A dehumidifier, hygrostat and fan control the humidity and ensure thorough drying following remediation.
Chemicals for mould remediation
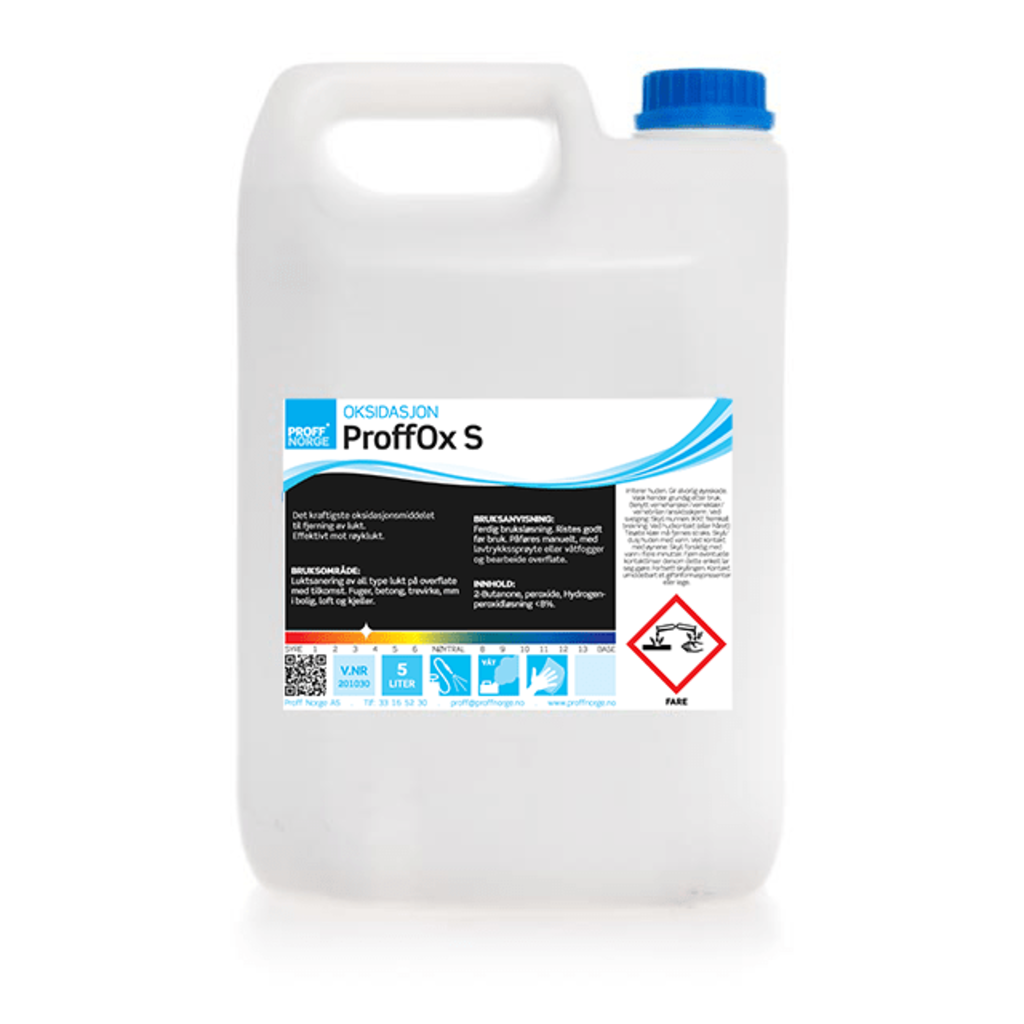
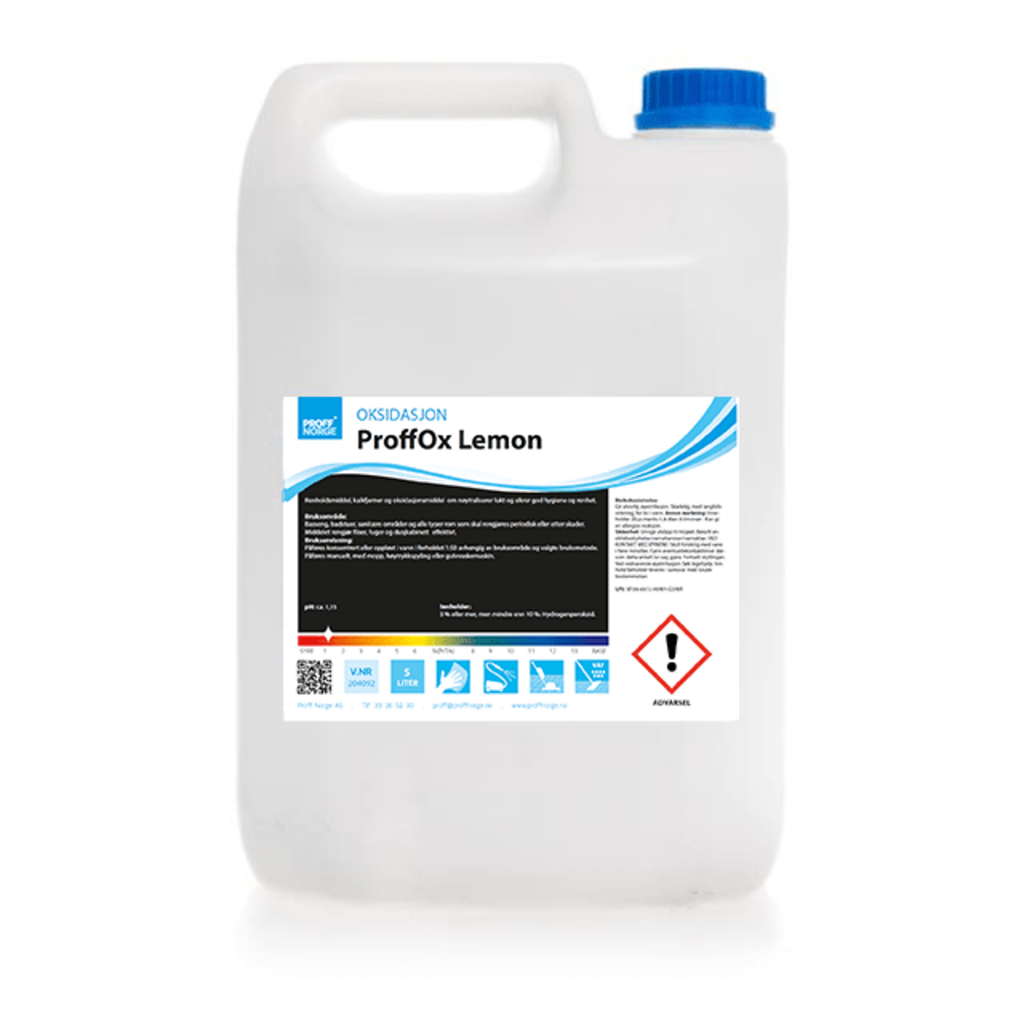

Application and treatment of house mould


Dehumidification and air circulation
When will the job be finished?
Do not consider the job complete simply because the visible mould has gone. Check both the surfaces and the indoor climate. The job can be considered complete when:
- The source of the damp has been identified and rectified
- The area has been cordoned off and decontaminated, and any visible mould has been treated
- The surfaces have been cleaned mechanically, and the finishing work has been completed
- Porous materials that cannot be salvaged have been removed or assessed
- The humidity is stable at the correct level, with air circulation in areas that were previously damp
- There are no signs of new mould growth
If the humidity is still high, the job isn’t finished.
In a nutshell
Mould remediation starts with the damp, not with the chemicals. Identify and rectify the cause first. Pre-treat visible mould with ProffOx S, wash thoroughly with ProffOx Lemon, and treat the cleaned surfaces with ProffOx DES. Use a dehumidifier, hygrostat and fan to keep the humidity under control afterwards – the target is approx. 50 to 60 % RF until the structure is stable.
If you suspect a case of true house fungus, the damage must be assessed as a separate case. In such cases, Boracol 15 may be the right product, but the method should not be confused with standard mould remediation – read more in the article on house fungus. If you’re unsure whether the material can be washed or whether it should be removed, we can help you choose the right method and equipment.